
Experiencing the error message “could not initialize graphics device windows 11” can be frustrating, especially when you just want to play your favorite games or use graphic-intensive applications. This issue occurs when the system fails to communicate with the graphics hardware properly. Understanding this error and knowing how to troubleshoot it effectively can save you time and allow you to get back to your activities smoothly.
Key Points:
- Outdated graphics drivers often lead to the error.
- Running applications in compatibility mode can resolve the issue.
- Switching between integrated and dedicated graphics may fix the problem.
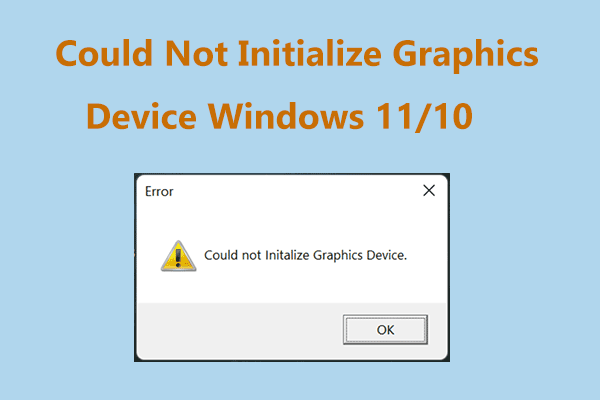
What Does “Could Not initialize graphics device windows 11
When you see the error message “could not initialize graphics device,” it indicates that your operating system cannot properly access the graphics hardware. This situation may arise due to several factors, such as incompatible drivers, hardware failures, or conflicts with the software you are trying to run.
Graphics cards are crucial for rendering images, videos, and animations. Without proper communication between the software and hardware, applications relying on graphics will fail to run. This issue can affect various software, including games like League of Legends, graphic design tools, or video editing software.
What Are the Common Causes of the Error?
Several reasons might trigger this error on your Windows 11 device. Recognizing these causes can help you troubleshoot effectively.
- Outdated or Corrupted Graphics Drivers: When your graphics drivers are not updated, they may lack the necessary support for newer applications or features in Windows 11.
- DirectX Issues: DirectX is essential for running applications that require high graphics processing. An outdated or corrupted DirectX installation can lead to initialization errors.
- Hardware Conflicts: Sometimes, conflicts between integrated graphics and dedicated graphics cards can cause issues, especially on laptops.
- Incompatible Software Settings: Running games or applications that do not match the system requirements can also lead to this problem.
- Overheating or Hardware Malfunction: Excessive heat can cause hardware to malfunction, resulting in the error.
How to Fix the Error?
Here are ten solutions to troubleshoot and fix the “could not initialize graphics device” error on Windows 11.
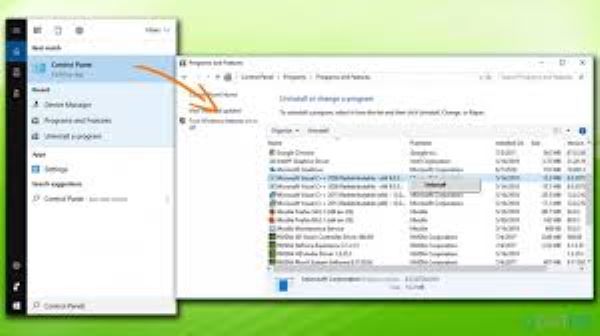
1. Update Your Graphics Drivers
Updating your graphics drivers is one of the first steps to resolving this issue. Manufacturers regularly release updates to improve performance and fix bugs. To update your graphics drivers:
- Open Device Manager by right-clicking the Start button.
- Expand the Display Adapters section.
- Right-click on your graphics card and select Update Driver.
- Choose Search automatically for updated driver software. Follow the prompts to complete the process.
2. Reinstall Graphics Drivers
If updating does not resolve the issue, consider reinstalling the graphics drivers. Sometimes, a fresh installation can help:
- In Device Manager, right-click on your graphics card and select Uninstall Device.
- Confirm the action and restart your computer. Windows will automatically reinstall the driver.
- For a manual approach, download the latest driver from the manufacturer’s website and install it.
3. Run Applications in Compatibility Mode
Running software in compatibility mode can sometimes resolve initialization errors. To do this:
- Right-click on the application shortcut and select Properties.
- Go to the Compatibility tab.
- Check Run this program in compatibility mode for and choose an earlier version of Windows, such as Windows 10.
- Click Apply and then OK.
4. Check for Windows Updates
Keeping Windows updated is crucial for optimal performance. To check for updates:
- Go to Settings and select Update & Security.
- Click on Windows Update and select Check for updates.
- If updates are available, download and install them, then restart your PC.
5. Adjust Display Settings
Changing your display resolution might help resolve the error. Here’s how to do it:
- Right-click on your desktop and select Display settings.
- Under Display resolution, select a different resolution than the current one.
- Apply the changes and see if the issue persists.
6. Check DirectX Installation
DirectX is crucial for running graphic applications smoothly. To check your DirectX version:
- Press Windows + R to open the Run dialog.
- Type dxdiag and hit Enter.
- Look for the DirectX version in the System tab. If it is outdated, download the latest version from the Microsoft website.
7. Switch Between Integrated and Dedicated Graphics
On laptops, switching between integrated graphics and a dedicated GPU can resolve conflicts. To do this:
- Open NVIDIA Control Panel or AMD Radeon Settings.
- Find the option for managing 3D settings.
- Choose the application and set it to use the dedicated GPU.
8. Clear Temporary Files
Clearing temporary files can help in resolving software conflicts:
- Press Windows + R, type temp, and hit Enter.
- Delete all files in this folder.
- Next, type %temp%, hit Enter, and delete all files here as well.
9. Reinstall DirectX
If DirectX is corrupted, reinstalling it might fix the problem:
- Download the latest DirectX from the Microsoft website.
- Run the installer and follow the prompts.
10. Check for Hardware Issues
Sometimes, the problem might stem from hardware malfunctions. Ensure that:
- The graphics card is properly seated in its slot.
- There is no overheating issue. Clean the inside of your computer to prevent dust buildup.
Comparison of Fixes
Here is a table summarizing the effectiveness of the different methods to fix the error:
| Fix Method | Effectiveness | Notes |
| Update Graphics Drivers | High | Most common fix |
| Reinstall Graphics Drivers | High | Ensures clean installation |
| Compatibility Mode | Medium | Useful for older software |
| Check Windows Updates | High | Important for overall system health |
| Change Display Settings | Medium | May resolve resolution issues |
| DirectX Check | High | Essential for graphics rendering |
| Switch Graphics Processor | Medium | Helpful for laptops |
| Clear Temporary Files | Low | Good maintenance practice |
| Reinstall DirectX | High | Fixes DirectX-related issues |
| Check Hardware Issues | Medium | Ensure hardware functionality |
Conclusion
In conclusion, the “could not initialize graphics device” error on Windows 11 can be attributed to various causes, primarily related to driver issues and software conflicts. By following the steps outlined above, users can troubleshoot and resolve this frustrating problem. Always keep your system updated, and perform regular maintenance to ensure a smooth experience. Remember, effective management of your graphics drivers and system settings is key to avoiding this error in the future.
FAQ’s
- What causes the “could not initialize graphics device” error?
The error can result from outdated graphics drivers, DirectX issues, hardware conflicts, or incompatible software settings. - How do I update my graphics drivers?
Open Device Manager, locate Display Adapters, right-click your graphics card, and select Update Driver. - Can I run applications in compatibility mode?
Yes, right-click the application shortcut, go to Properties, then Compatibility, and choose an earlier version of Windows. - How do I check my DirectX version?
Press Windows + R, type dxdiag, and hit Enter to view the DirectX version in the System tab. - Is clearing temporary files necessary?
Yes, it can help resolve software conflicts that may lead to the error. - What if I experience hardware issues?
Ensure the graphics card is properly seated and check for overheating or other malfunctions. - Will reinstalling DirectX help?
Yes, reinstalling DirectX can resolve issues related to graphics rendering and initialization.